How to Achieve High Precision Laser Marking

Time:2026-11-10 Author:Mason
0%

How to achieve high precision laser marking starts with controlling the details that a finished part cannot hide: focus, pulse energy, scan speed, and surface condition. A mark that looks crisp on screen may blur on a curved steel housing. A few microns of focus shift can soften a tiny character. Small changes matter.

Grand View Research’s Laser Marking Market Size, Share & Trends Analysis report tracks growing industrial use of laser marking, including applications where durable identification and consistent output are important. Market growth, however, does not guarantee precision. The machine still needs validation on the actual material, at the actual production speed. A polished sample is not enough.

Quality-management expert H. James Harrington is often quoted as saying, “If you can’t measure it, you can’t control it.” That principle applies directly to laser marking: inspect line width, contrast, edge quality, and repeatability, rather than relying on visual judgment alone. Record the settings. Test again after changing a lens, fixture, or material batch.

There is no universal recipe. That is the inconvenient part. Stainless steel, anodized aluminum, and plastics respond differently to wavelength and heat. A practical process begins with a stable fixture, clean samples, and measured test marks. Then adjust one variable at a time. Even careful teams can miss drift between shifts; periodic checks help reveal it. This guide explains how to achieve high precision laser marking through setup, testing, and process control.
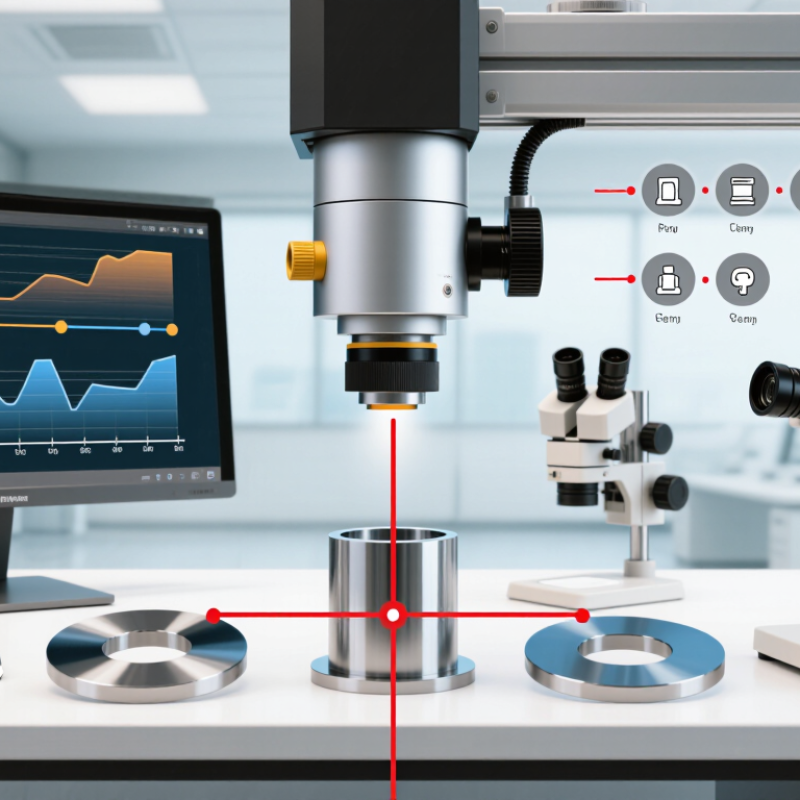
How to Achieve High Precision Laser Marking

Understanding the Factors That Determine Laser Marking Precision

High-precision laser marking depends on the whole process, not just the machine’s advertised resolution. Beam quality and focus set the effective spot size; ISO 11146-1:2021 specifies methods for measuring beam width and propagation characteristics such as M². A smaller spot can create finer features, but only when the beam is properly focused on the work surface. Even a slight height change across a curved part can soften edges. Check focus at the actual marking position, not only on a flat setup coupon. Small setup errors matter.

Pulse spacing matters too. At a scan speed of 1,000 millimeters per second and a pulse rate of 100 kilohertz, successive pulses are 10 micrometers apart, calculated from speed divided by frequency. That spacing affects overlap, edge smoothness, and heat buildup; the best value depends on the material and feature size. ISO 11554:2017 describes methods for measuring laser power and energy, useful checks when output stability is in doubt. Shorter pulses may limit heat spread, but they do not automatically improve every mark. Surface finish, coating thickness, scan acceleration, and lens condition all influence the result. A test grid on the real part often reveals more than a perfect-looking sample on scrap. I still find that easy to overlook.

How to Achieve High-Precision Laser Marking

How focal length affects the theoretical focused spot diameter

A smaller focused spot can support finer marking detail. Values shown are theoretical estimates for a 1064 nm laser, an M² beam quality of 1.2, and a 6 mm beam diameter at the lens, calculated using a Gaussian-beam approximation. Actual marking precision also depends on focus position, motion control, material, and process settings.

Selecting a Laser Source and Marking System for the Material

How to Achieve High Precision Laser Marking

Selecting a Laser Source and Marking System for the Material

Choose the laser by testing the actual material, not just its category. Fiber lasers often mark metals effectively, while CO2 sources suit many woods, plastics, and coated materials. UV lasers can produce fine marks on heat-sensitive surfaces, but results depend on the material’s formulation. Even two plastics with similar colors may react differently. Start with a small sample.

Precision also depends on the marking system. A galvo scanner can mark small areas quickly; a motion stage may suit larger parts or repeated positions. Check spot size, focus stability, fixture movement, and the part’s surface variation. A sharply focused beam cannot compensate for a loose fixture. Settings that look right on paper may leave uneven edges in production, so measure real samples and revise the setup.

Tips: Record wavelength, power, speed, and pulse settings for each material batch. Inspect marks under consistent lighting. A second test is worth the time.

Preparing the Workpiece and Calibrating the Machine

High-precision laser marking begins with a stable, clean workpiece. Remove oil, dust, and loose residue with a method suitable for the material, then let the surface dry fully. Even a thin fingerprint can change how the mark absorbs energy. Check that the part is flat and secured; a slight tilt can shift the focal point across the marking area. Use a fixture when parts need repeatable positioning. It is easy to rush this step. That can cost more time later.

Calibrate the machine with the actual material and intended marking area. Confirm the focus distance using the machine’s approved gauge or focusing method, and verify that the workpiece sits level. Run a small test grid on a sample or an inconspicuous area. Change one setting at a time, such as speed or power, and record the results. Inspect line edges and fill consistency under good light, or magnification if available. A dark mark is not automatically a precise one. Recheck focus and alignment after changing fixtures or moving the workpiece. Calibration is not a one-time task; temperature, setup, and material variation can all affect results. Some variation may remain, so document it rather than assuming every part will behave identically.

Optimizing Marking Parameters Through Controlled Testing

How to Achieve High Precision Laser Marking

Optimizing Marking Parameters Through Controlled Testing

High precision starts with controlled tests, not repeated guesswork. Change one factor at a time only when isolating a specific cause; otherwise, test interactions systematically. Keep the material batch, surface finish, focus, and cleaning method consistent. Vary power, speed, and frequency within the machine’s recommended range. The NIST/SEMATECH e-Handbook of Statistical Methods explains how factorial experiments reveal interactions between factors. For three factors tested at two levels each, a full factorial requires eight settings. Three repeats per setting produce 24 test marks—a manageable comparison set.

Measure more than appearance. Use a calibrated contrast measurement method, inspect line edges under magnification, and record mark width and any heat tint. Photograph each sample under the same lighting. A slightly darker mark may look sharper, yet have rougher edges. One perfect sample can still mislead. Repeat the best settings on a fresh workpiece before choosing them for production, and note any trade-off between contrast and speed.

Tips: Label samples before marking. Change one variable per test set, and log every setting. If results drift, check focus and surface cleanliness before increasing power.

Verifying Mark Quality and Maintaining Process Consistency

High-precision laser marking is verified on the workpiece, not assumed from machine settings. Inspect a sample under consistent lighting and compare it with the drawing or approved reference. Check edge sharpness, spacing, contrast, and position. A loupe can reveal burrs or broken strokes that look acceptable from arm’s length. Small details matter.

Measure critical features with suitable inspection tools, and record the results. For repeat jobs, keep a marked sample and note the material, focus position, speed, power, and other settings. Change one variable at a time during setup. Otherwise, it becomes difficult to tell what improved the mark. A test coupon is useful, but it may not behave exactly like the finished part.

Process consistency needs regular checks, not just a successful first piece. Inspect samples at the start of a run and after material changes, interruptions, or focus adjustments. Keep the lens clean and confirm that parts sit flat in the fixture. Even so, a clean fixture does not guarantee perfect alignment. That assumption can be costly. If marks drift or fade, pause and compare recent samples with the reference before continuing. Record defects honestly, including borderline ones; overlooking a faint line once can make it seem normal later.

FAQS

What determines laser marking precision?

Precision depends on beam quality, focus, pulse spacing, surface condition, and fixture stability. Machine resolution alone is not enough.

Why does focus position matter?

The beam must focus on the actual marking surface. Height changes on a curved part can soften edges. Check the real part.

How does pulse spacing affect a mark?

At 1,000 millimeters per second and 100 kilohertz, pulses land 10 micrometers apart. Spacing affects overlap, edge smoothness, and heat buildup.

Which laser source should I choose for a material?

Test the actual material. Fiber lasers often work well on metals, while CO2 sources suit many woods, plastics, and coated materials. Results still vary by formulation.

When should I use a galvo scanner or motion stage?

A galvo scanner can mark small areas quickly. A motion stage may suit larger parts or repeated positions. Fixture movement can still spoil alignment.

How can I check mark quality?

Inspect samples under consistent lighting. Compare edge sharpness, spacing, contrast, and position with an approved reference. A loupe can reveal broken strokes.

What should I record for repeat jobs?

Record material batch, focus position, speed, power, and pulse settings. Keep a marked sample. A test coupon may not match the finished part.

How can I keep results consistent during production?

Check samples at the start and after material changes, interruptions, or focus adjustments. Clean the lens and confirm parts sit flat. Still, flat does not mean aligned.

What should I do if marks fade or drift?

Pause production and compare recent samples with the reference. Change one setting at a time during troubleshooting. Borderline defects deserve a note, too.

Conclusion

How to achieve high precision laser marking begins with understanding the factors that affect accuracy, including the material’s properties, surface condition, feature size, and required marking depth. Choose a laser source and marking system suited to the workpiece, then prepare its surface carefully and secure it in a stable position. Accurate machine calibration and alignment help ensure that the marked features appear in the intended location and remain consistent.

Next, optimize the marking parameters through controlled tests. Adjust settings such as power, speed, frequency, and focus methodically, changing one variable at a time and recording the results. Inspect sample marks for clarity, dimensions, contrast, and uniformity, then refine the process as needed. Regularly verify finished marks and maintain the machine to reduce variation over time. A repeatable setup, documented settings, and consistent workpiece preparation make it easier to achieve reliable precision across production runs.

Mason

Mason

Mason is a seasoned marketing professional with a deep expertise in the company's offerings and a passion for driving brand awareness. With a strong background in digital marketing strategies, he has an innate ability to connect with diverse audiences and effectively communicate product benefits.......